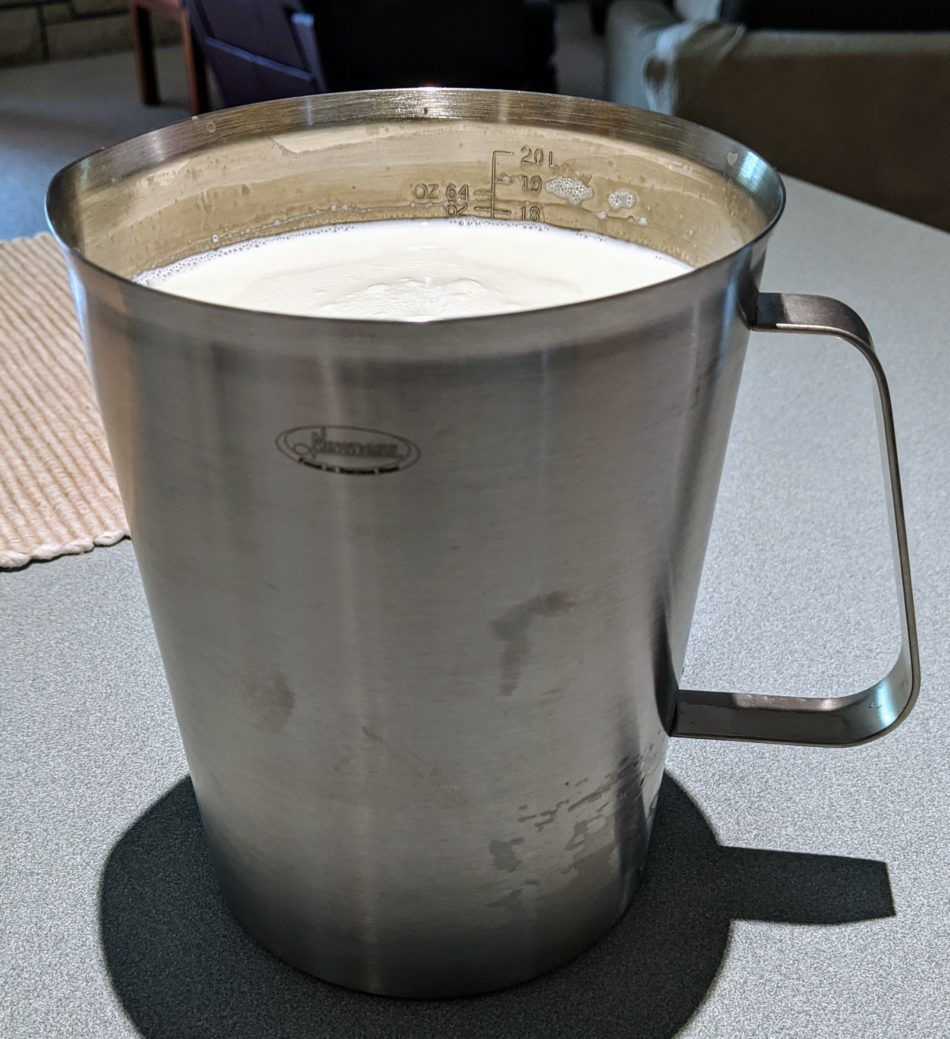
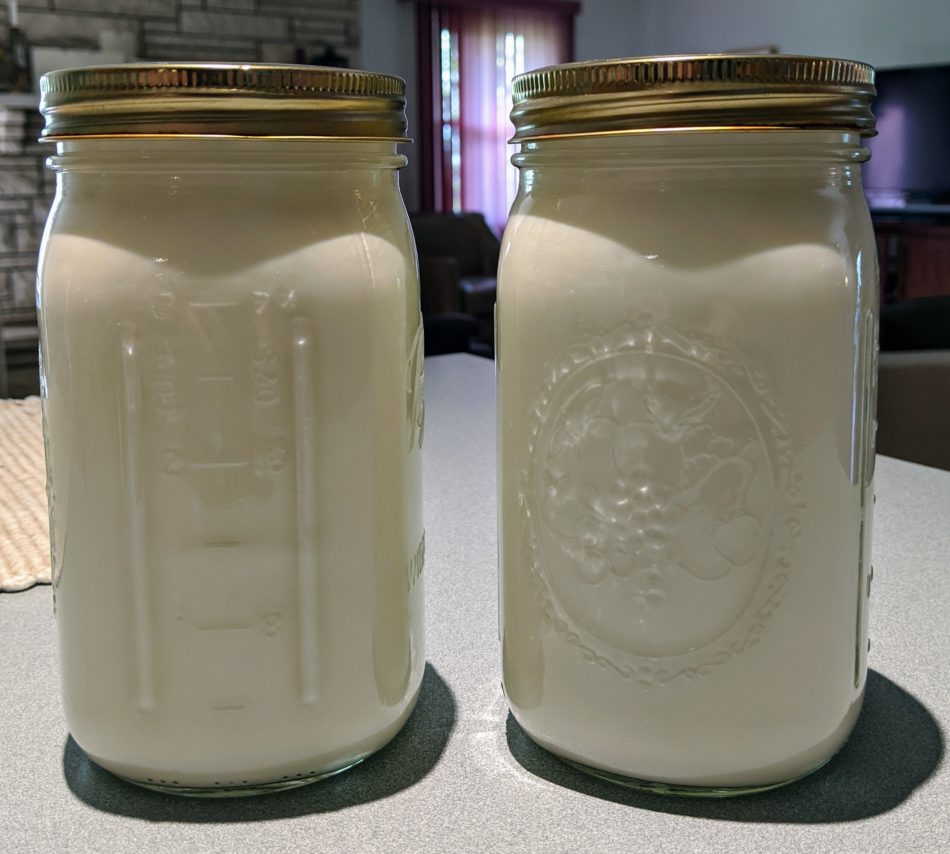
So, making my own yogurt… Right, why would I want to do that? Because I can? Because I enjoy it? Because it’s delicious? Because it’s economical? Because it’s the sort of thing I’d do? Yep. I have an Anova immersion sous vide circulator. It’s a good tool for this, so I decided to figure out a simple, repeatable method. It worked out, and I make a quart of yogurt every week. It starts with seven cups of organic, whole milk, shown to the right.
I use the Stainless pitcher because it sits just right in the vessel I use for the water bath. It rests stable on the bottom, and provides a lot of surface area for thermal transfer.
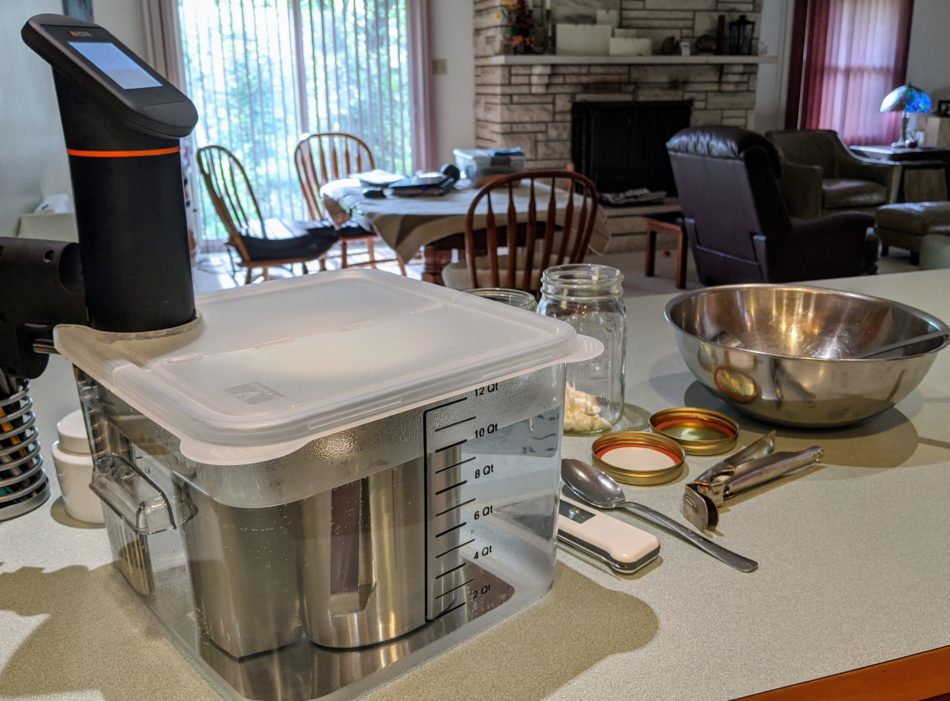
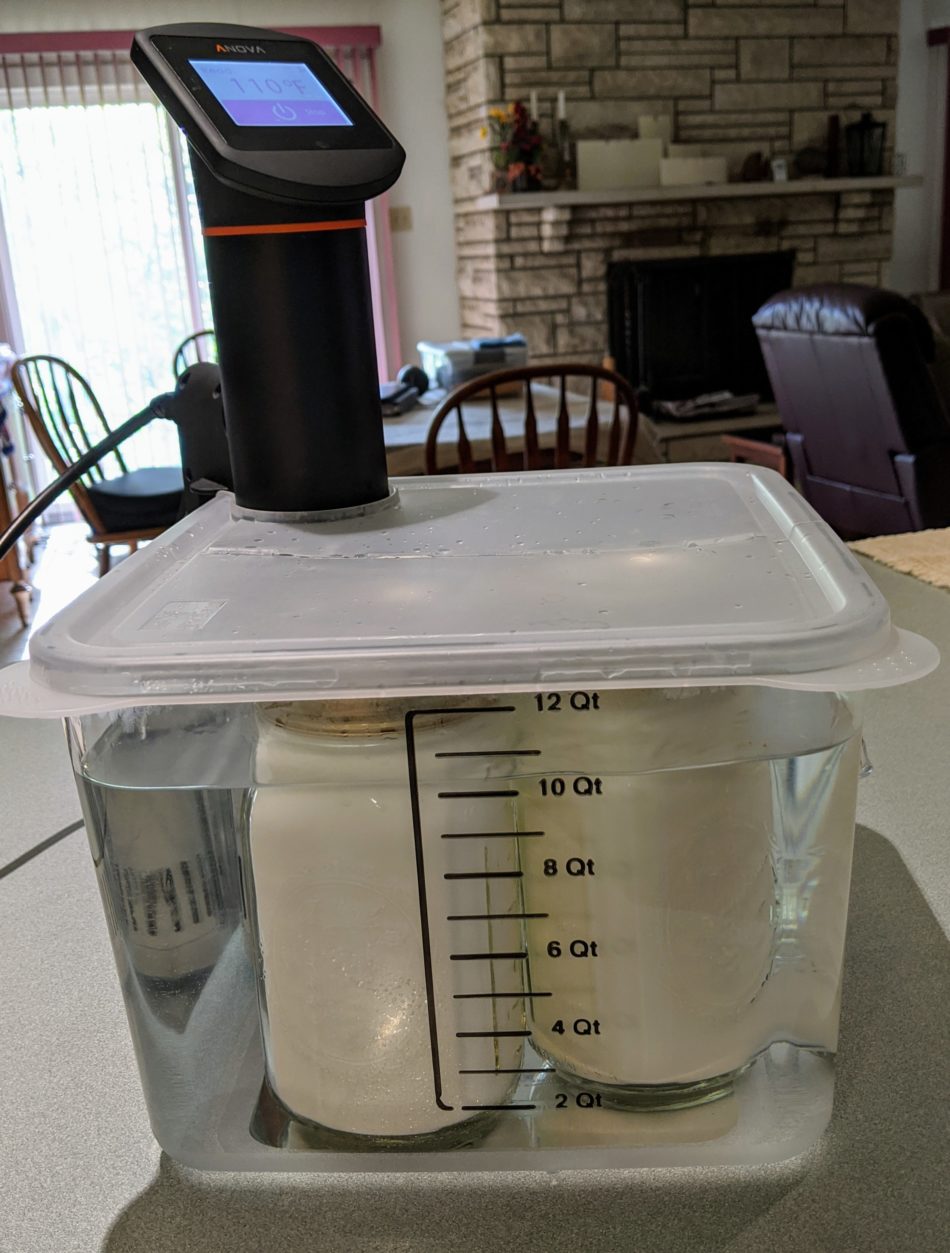
I put eight quarts of hot tap water into the vessel and set the sous vide for 190 degrees. I then place the pitcher of milk in the water bath and attach the hinged lid. Using my Thermapen, I monitor the milk’s temperature until it reaches 180 degrees, then set a timer for ten minutes. Then I remove the lid, remove the pitcher (it’s hot) with a tool that’s designed for lifting Chicago-style deep dish pizza pans.
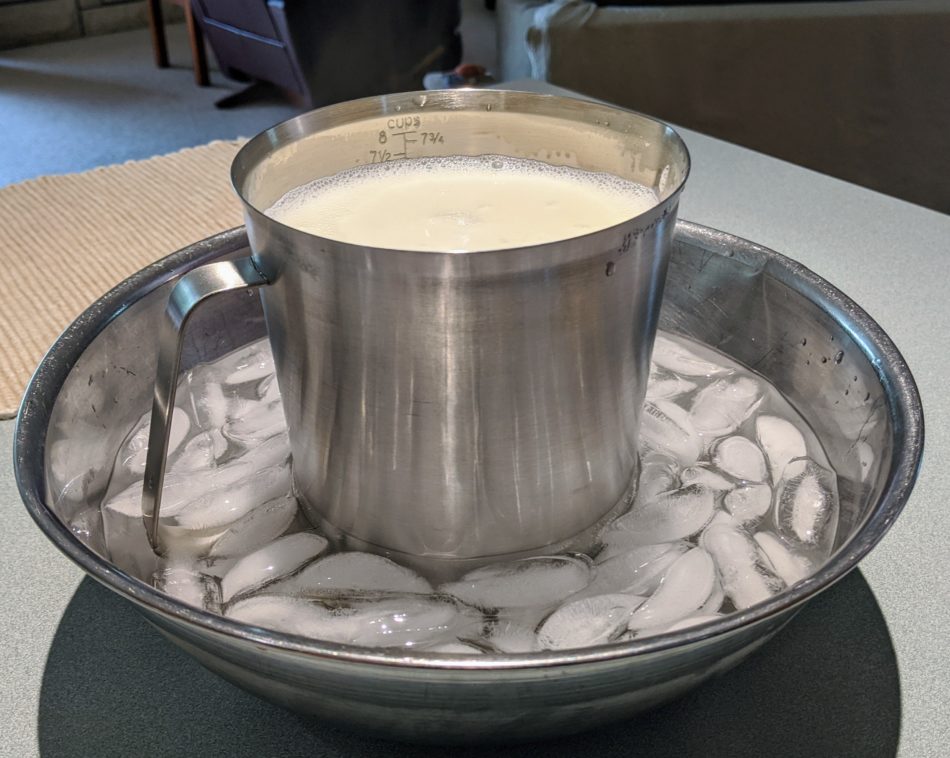
The pitcher of milk then goes into an ice-water bath where it’s stirred periodically, to bring the temperature down to 109 degrees. I replace the water in the sous vide vessel with hot tap water and set the circulator to 109 degrees. When the milk has cooled to 109 degrees, it’s ready for the next step.
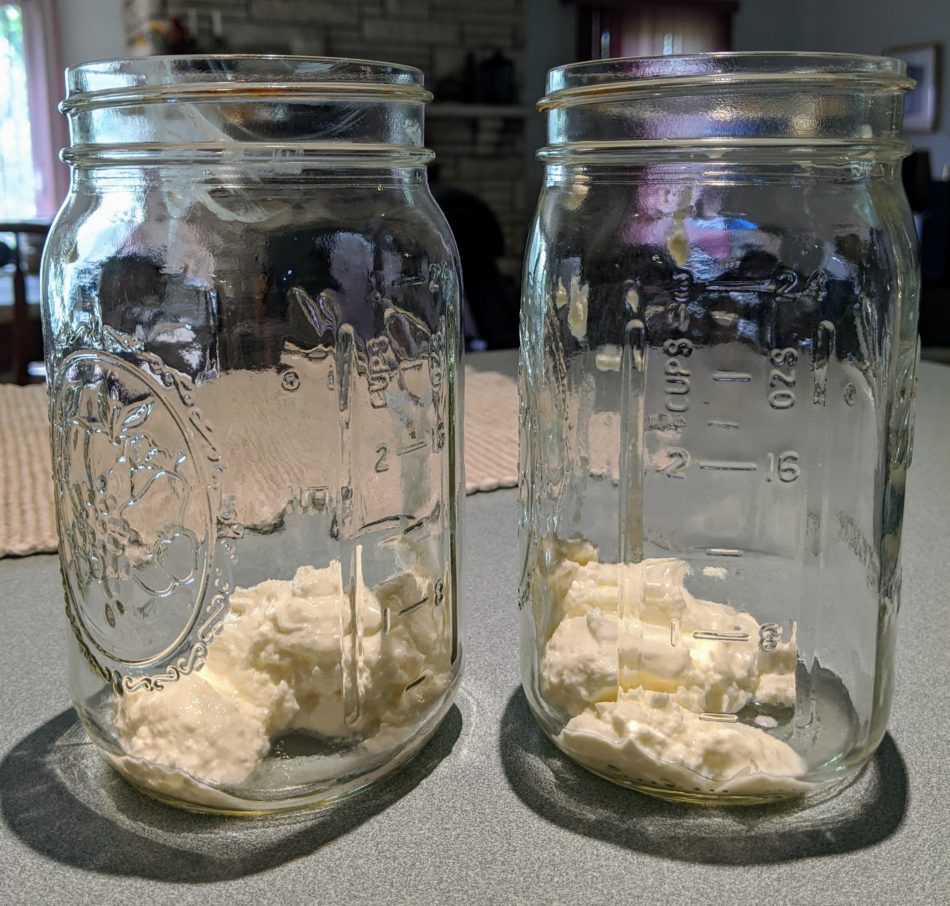
I’ve prepared two, one quart canning jars by placing in each, 2.5 to 3 ounces of yogurt reserved from the previous batch. If you’re making your first batch, use store-bought. I like Siggi’s. Fill the jars halfway, stir well to blend the yogurt and milk. Next, top them off, seal them tightly with canning tops and rings and give them a good shake.
The jars are now ready to go into the 109 degree water bath for 12 to 18 hours. I’ve had good, consistent results with 16 hours.
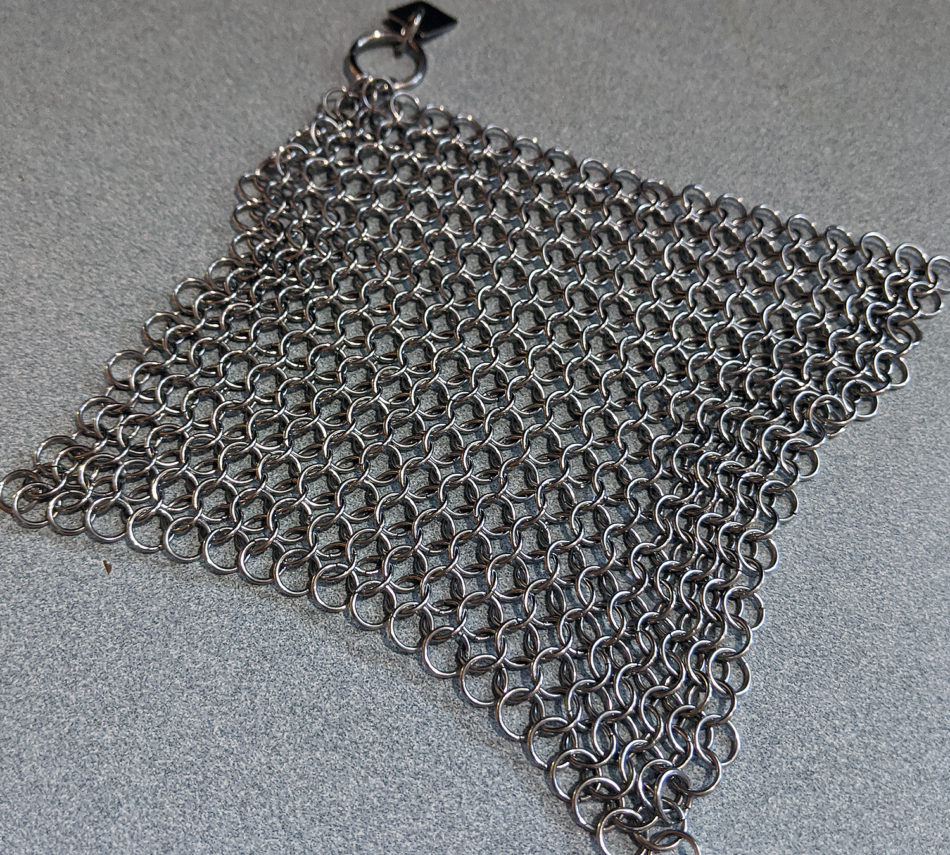
Now I’ll confess to you that whatever you use to bring the milk up to 180 degrees can present a cleaning challenge. There will be cooked-on milk solids. I’ve had good results removing this with little effort, using my chainmail cast iron scrubber.
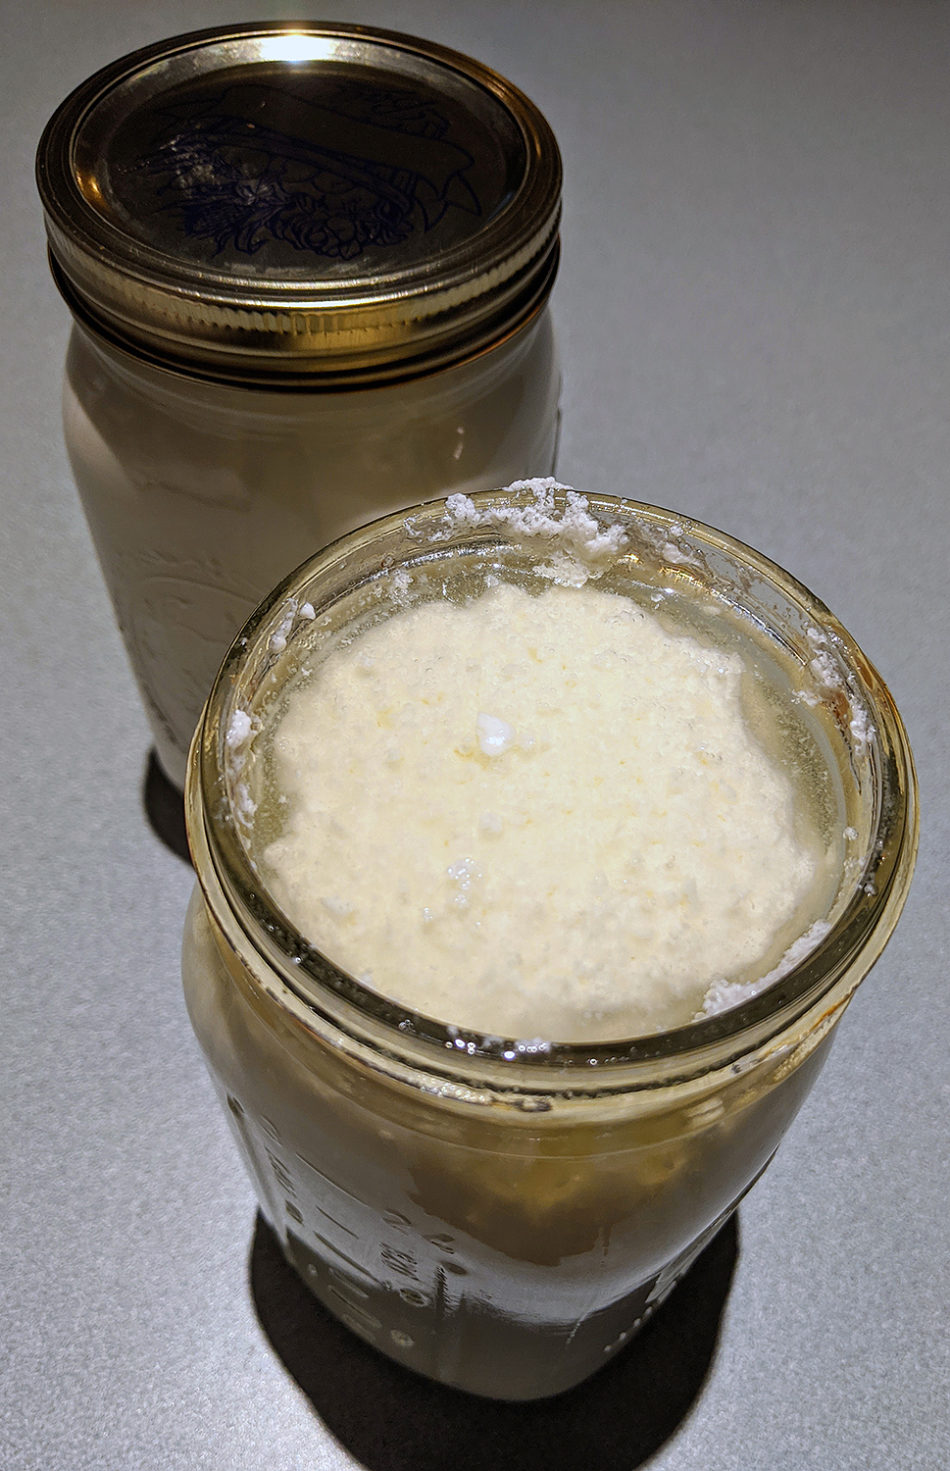
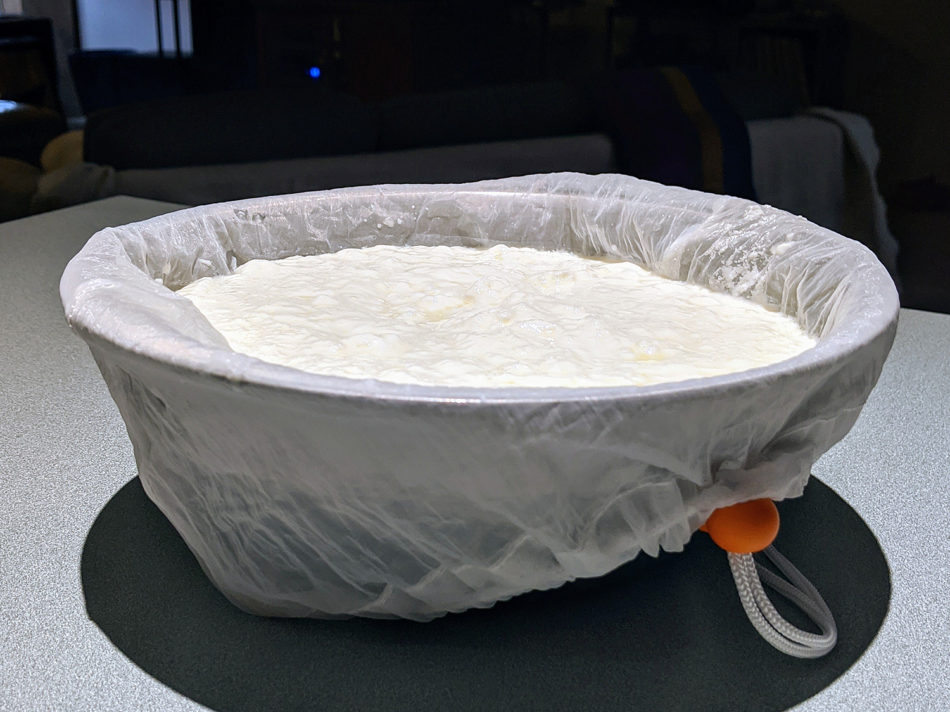
After sixteen hours, remove the jars and pop the tops. It’ll look like the image on the left. We’re now ready to strain the yogurt. I’ve tried various methods and have settled on a straining bag, combined with gravity and time.
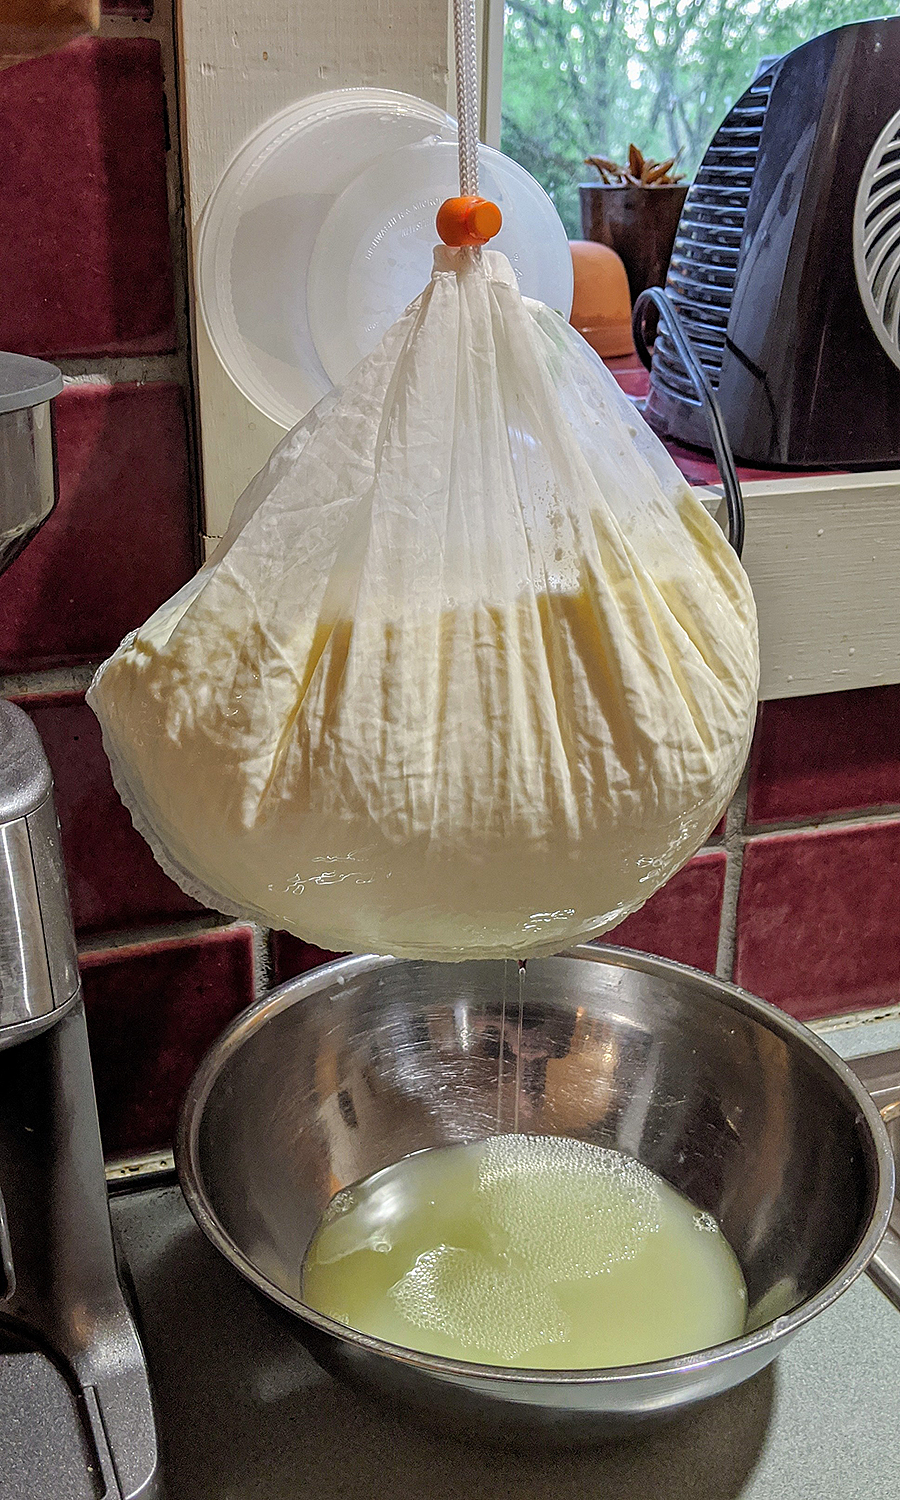
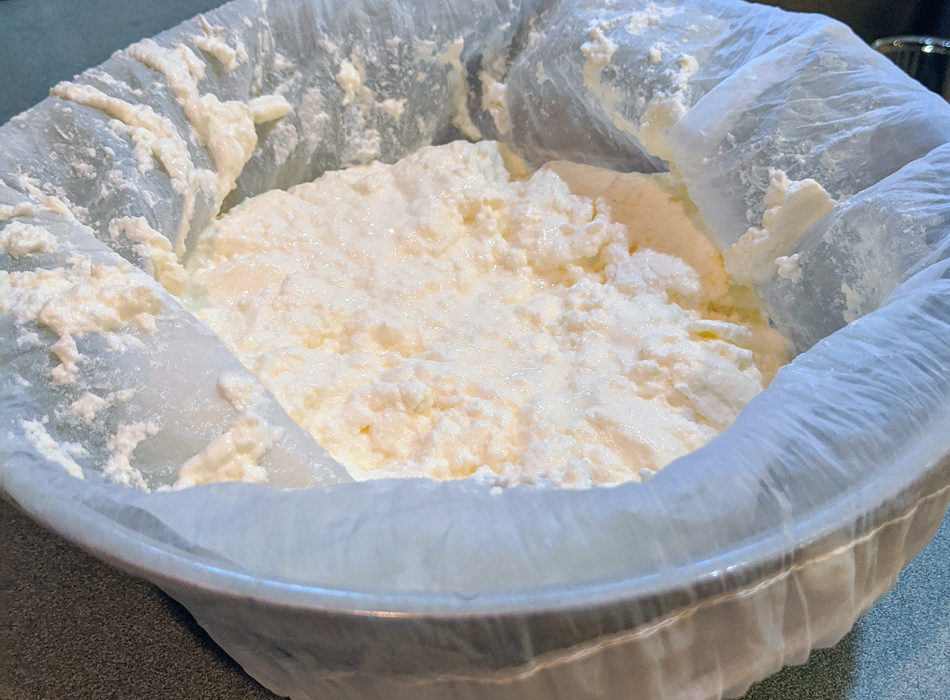
I use an appropriately sized bowl to hold the bag and empty the jars into it. Next I close the drawstring and hang the bag over the bowl for about forty-five minutes.
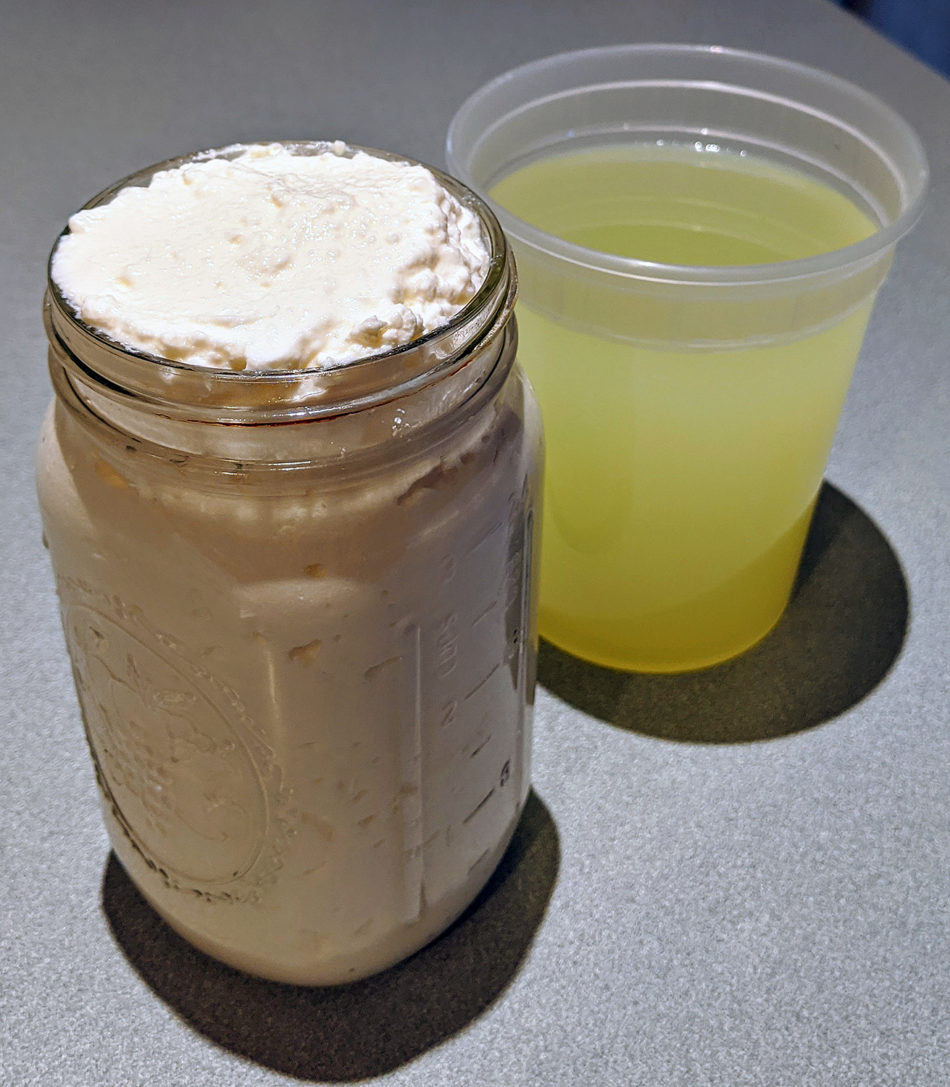
After sufficient straining, the volume of the yogurt will have have been reduced by half. I end up with a quart of yogurt and a quart of whey…which to date, I’ve found no use for. Yogurt whey isn’t like cheese whey. I can’t make ricotta from it. Let me know if you have any ideas.
The yogurt may seem thin when you jar it up. Trust me, it will thicken as it chills.
I use homemade yogurt in smoothies, sauces, salad dressings, etc., because…it’s yogurt.
